Side menu and image controls
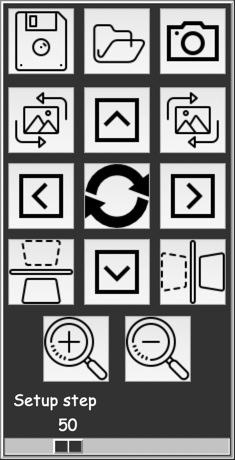
The side menu looks as follows
Note
For visual clarity, pressed buttons are highlighted in green
Let us review its functions
Saving and loading settings
 — save zone settings
 — load saved zone settings
You can do exactly the same via commands in the File section of the main menu.
Screenshot
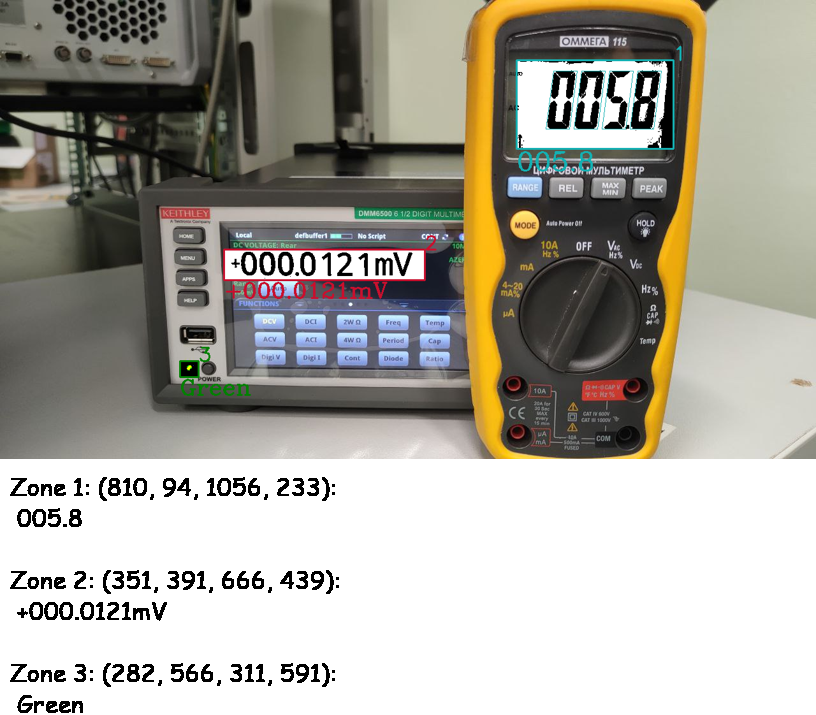
The  button allows you to take screenshots with recognition results overlaid.
The resulting images are saved to the folder output/screenshots in Program Directory.
button allows you to take screenshots with recognition results overlaid.
The resulting images are saved to the folder output/screenshots in Program Directory.
An example of such an image:
Position and size control
The remaining buttons in this menu allow you to control the position and size of the image:
 — shift (left, right, up, down)
 — zoom in
 — zoom out
 — reset to defaults
 — rotate clockwise
 — rotate counterclockwise
 — flip horizontally
 — flip vertically
The “setup step” slider adjusts how smoothly the position and size of the image will change.
All these commands can also be executed from the keyboard (arrow keys and “+” and “-“), or with the mouse (press and hold the left mouse button and drag to change position, and use the wheel to change size).
It is also possible to move zones relative to the image using the keys w, s, a, d by the value of the setup step (in pixels). The w, s, a, d keys move the zones selected in the zone list up, down, left, right respectively; at the same time, the zones cannot go beyond the image boundaries.
Note
Attention! If at least one zone is selected in the zone list, a mouse click will lead to reselecting the boundaries for that zone rather than moving the image. To move the image using the mouse, no zones should be selected in the list.
Image area
There are also several additional buttons in the image area.
If the image source is a camera or video, the  and
and  buttons in the lower-left corner allow you to start/stop the video stream.
If the source is a video, a slider also appears at the bottom that allows you to control the current video frame.
The “duplicate” button  in the upper-right corner opens additional windows in which the displayed image will be duplicated.
Note
A large number of additional windows slows down the program.
The  and
and  buttons (rocket and snail) allow you to speed up the program or switch it to normal mode, respectively.
Pressing the rocket button pauses frame updates in the main program window, but frame updates continue in the additional windows. Pressing the snail returns the program to normal mode.
buttons (rocket and snail) allow you to speed up the program or switch it to normal mode, respectively.
Pressing the rocket button pauses frame updates in the main program window, but frame updates continue in the additional windows. Pressing the snail returns the program to normal mode.
Note
Rocket mode can noticeably speed up frame processing if the processed video stream has a high resolution and the computer lacks sufficient resources for fast processing. Updating frames in the main window requires more computing power because it requires converting the image type, which is not required for additional windows.